
 |
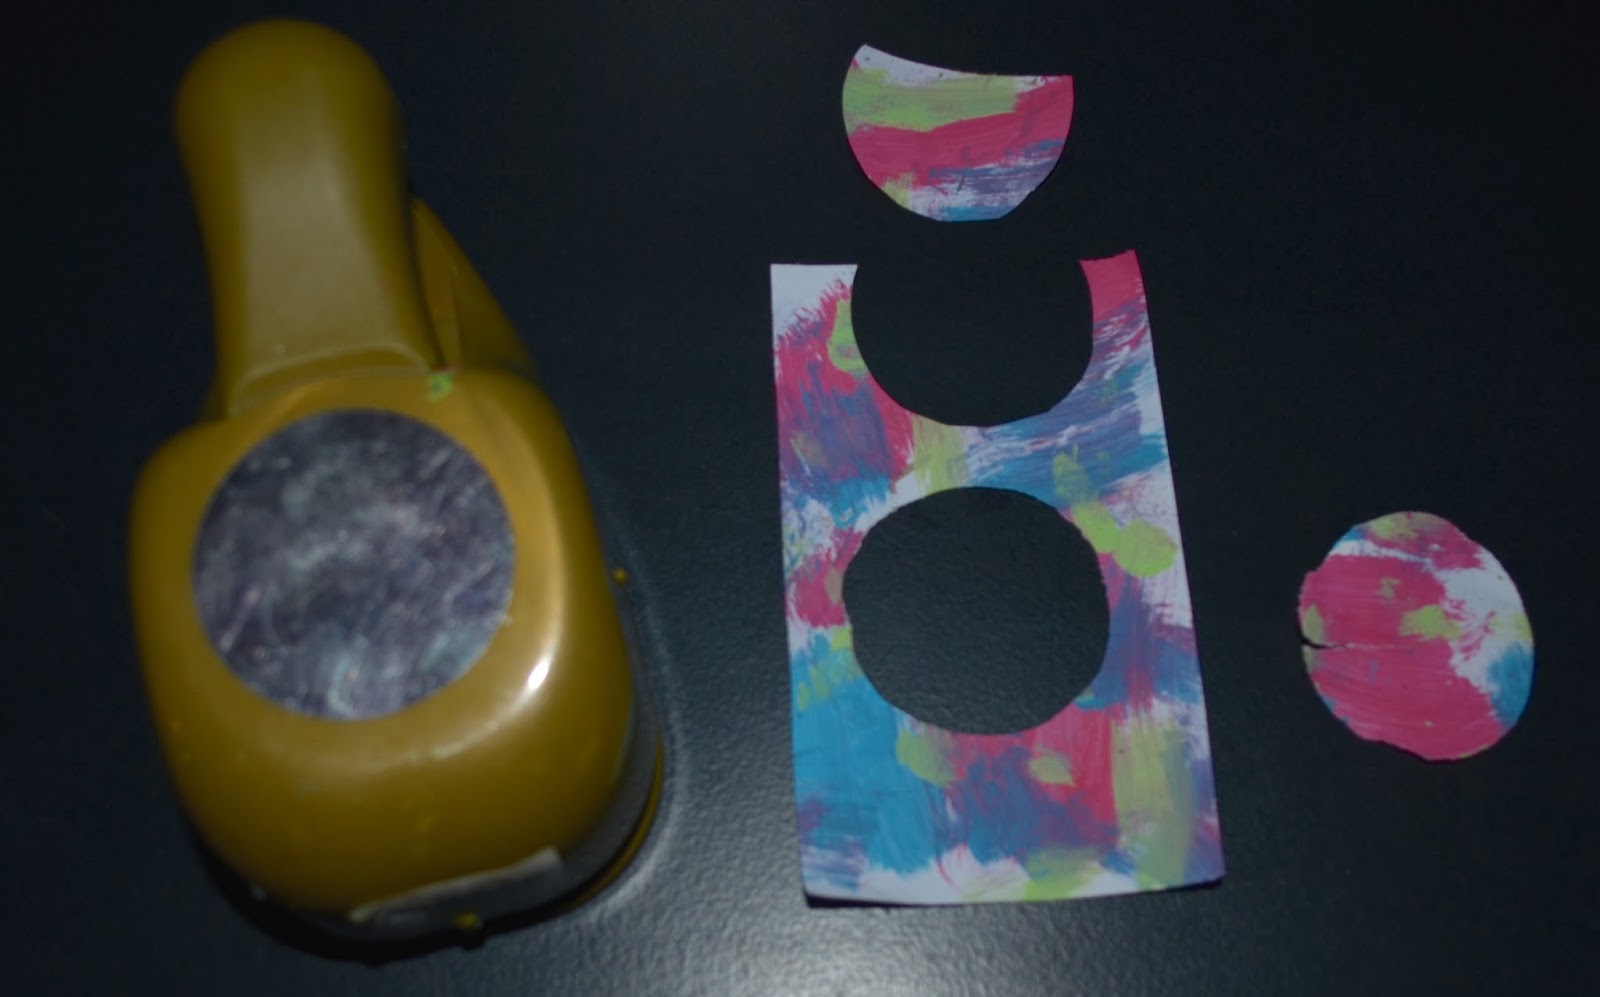
| Circle punch 2 holes from a tag. As many as you want keeping the circles intact. |
 |
| Choose another color paper for the next layer. Punch two circles in different places than on the tag. They don't have to be whole circles. |
 |
| Find a third color or style paper. I like this stamped piece. Cut two partial circles from 2 different spots than the previous papers. |
 |
| Find a final contrasting piece of paper cut to the shape of the tag. This piece will be the bad of the tag. No circles are cut from this piece. Leave it whole. |
 |
| Flip your tag over and glue all around the circles. I just used a glue stick here. Make sure you get glue on those little thin strips as well. |
 |
| Add the first layer of cut circles to the back the tag so the colors show through. Look at the placement from the front before adhering permanently. |
 |
| Flip over the tag and all glue to the entire back once again. |
 |
| Flip the tag over to check placement of the 2nd piece of paper. In this tag the 2nd paper layer is the stamped words. Make sure you leave small spaces for your next color to show through. You can flip the papers any way you want to see the color through the tag. |
 |
| Once again, flip to the back and add more glue to the entire tag. |
 |
| You can still see the edges around the tags. Now cut all the excess off at one time. You can undercut a little so no paper shows through except through the circles. I had gluey fingers with this one. Make sure you have clean hands or let the glue dry between. |
 |
| Here are the final tags. You can also draw doodles on the front with black or white pens to hi light the circles or add petals like flowers. Geometric. Colorful. Fun. Easy :) Happy with this accident for sure! |
 |
| Note: My circle punch is a beast to use. I DO NOT love it. It catches edges and tears them EVERY time. However, I do have extra circles for journal pages, swaps, numbers on a calendar... Hope you have fun creating some circle tags yourself! |


No comments:
Post a Comment
Thoughts and feedback welcome here!