Kim Lucas Designs ~ Infused Creativity

Kim Lucas Designs  ~ Infused Creativity
Mixed Media and Creative Artist & Photographer

Friday, February 27, 2015

Art Breaks for Art

I have been busy the last few weeks with art outside of MY art. What I mean is I am a yes girl when it comes to art. "Can you help with salt watercolor backgrounds in three classes?" YES! "Can you chair the school Reflections Program?" YES! "Can I get all of the supplies and art going for Destination Imagination?" YES! "Can I help out with the Art docent stained glass window project?" YES!  While all of these enthusiastic YES-es, or YESI for plural? I have a birthday party to plan, a dog to walk, a house to maintain, lunches to make, groceries to buy and laundry to put away. Oh there's more, but you get the picture and I won't bore you. All I want to do at the end of the day is walk into my art room and throw some paint around. It makes me happy and all of the world is in balance again.

Here are some things that I have been creating the last couple of weeks.

But before that I have an odd pondering that I think in my head often but never say out loud.  I like to draw faces and mostly I draw girls, well I guess all girls really. What I notice is when I look at the pictures of faces others draw, they have resemblances to the artist. When I look at pics I draw I often have big lips, big eyes, long hair with a part on the side..mostly my characteristics.  So my questions then is this. When we draw people, are we naturally inclined to draw the face we've seen the most in our lives? Our own? The more I seek it out to compare this the more I think it's true. Intentional or not..I just notice these odd little pieces.

Moving on.. Art the fun part. Tags. I always have had to use pre cut store bought tags..Why? I don't know, I'm just quirky like that. I was inspired by someone online who had simply made a textured background paper and cut them up into tags. Instant backgrounds to embellish. This was a great technique to fine because I LOVE these tags! I used a cardstock that has a canvas texture to start. Paint and smudges and colors, OH MY! I love having a use for stamps still and have embossed some of them here. Darkened edges and whiteout pen scallops. A few stars, words, and doodles. I think these are my favorite tags yet!


I guess I have been using a lot of inspiration in my work. I saw a DLP page that was orange with blue circles as a repeated element and played off that. Complimentary colors are one of my favorite color combos. After the gelatoed orange variegated background I drew on some white gesso circles for clean bright pops of blue.  There are a bunch of blue colors in those layers with gelatoes and paint. I wanted to shade them but sometimes the Stabilo is just to aggressive for that. I opted for a slight stabilo line with a dark orange, one of the background colors, to make the shading appear light based and not just sketched on by my pencil. I love this page. I like it how it is, I don't think it's done but I'm not sure where I'm going and I'm not asking for directions, so i'll wait :) Some of the best art is just created in the adventure. 


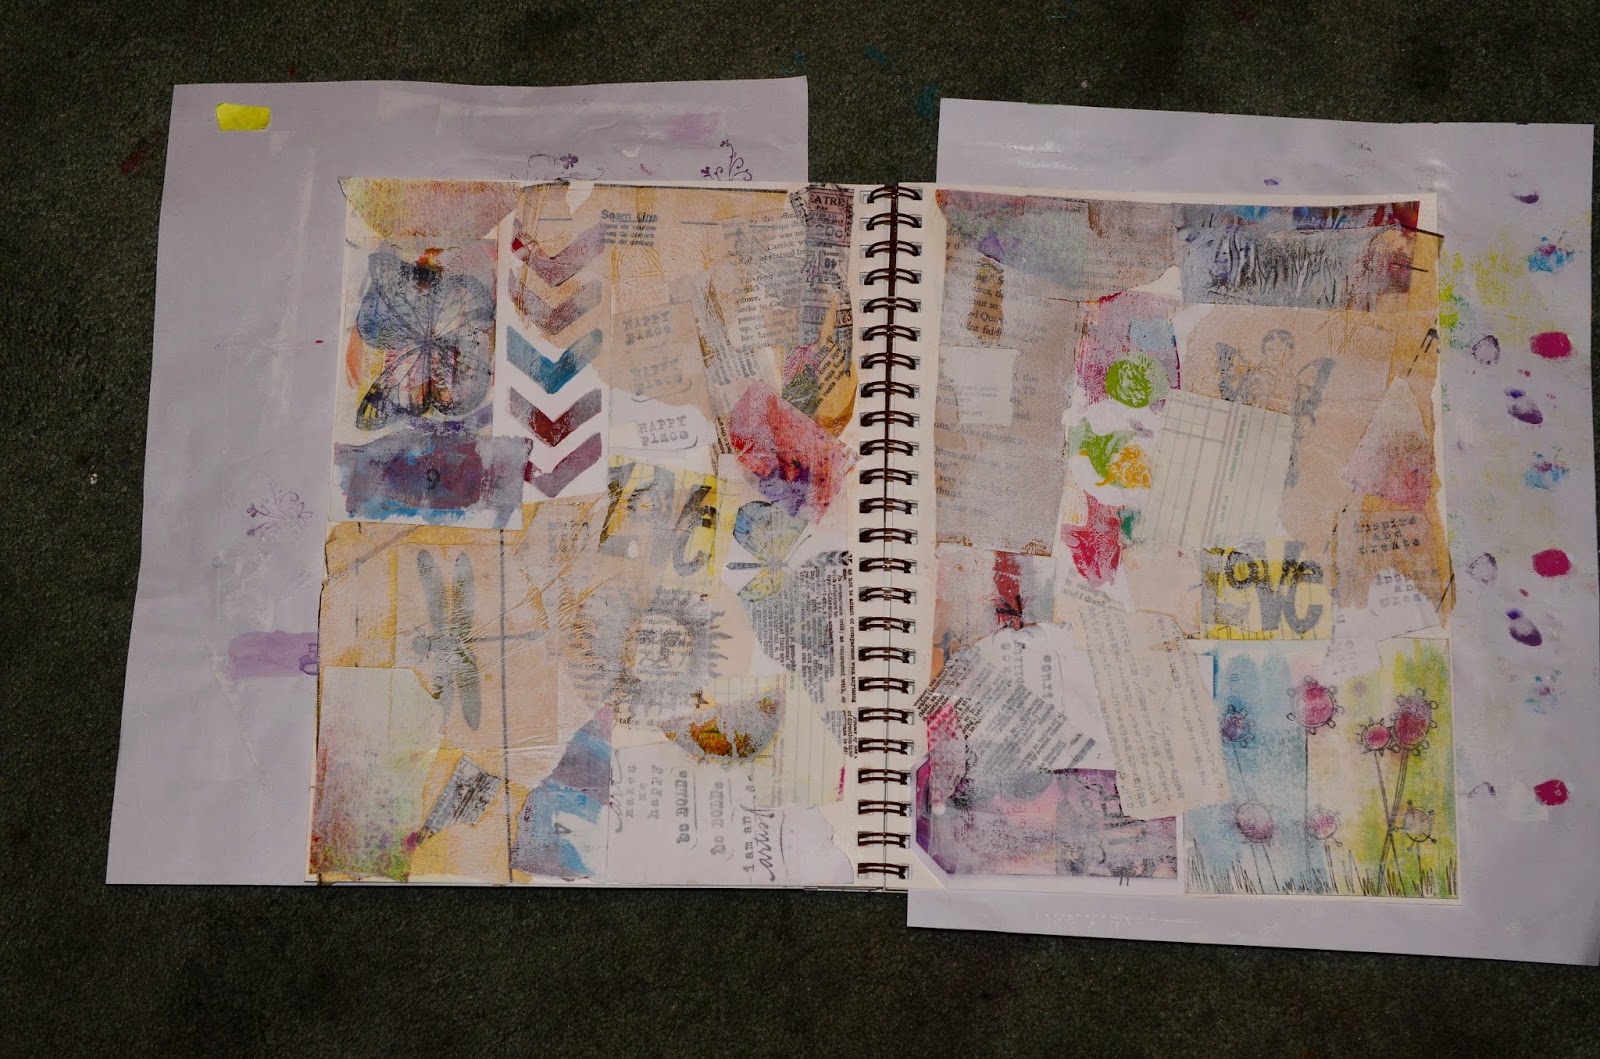
Collage, and my first Mixed Media Whimsical House!!! Seriously. I struggled to make something with a square and triangle forever that didn't look like I drew it in 1st grade.  Again, I think I'm veering away from my purple blue teal phase into the orange blue phase, just look at the last picture.  This was fun. I just created random shapes as I went. I have a thing for wings and I have been so excited to add the sewing element to my projects...thank you $35 Craigslist machine, you were a deal and well worth it. Keep up the good work! I like to use magazine pages to cut out pieces because they have a gloss matte texture instead of flat paper and paint. This page just really got me when I made it. I might almost print and frame it for a wall. 


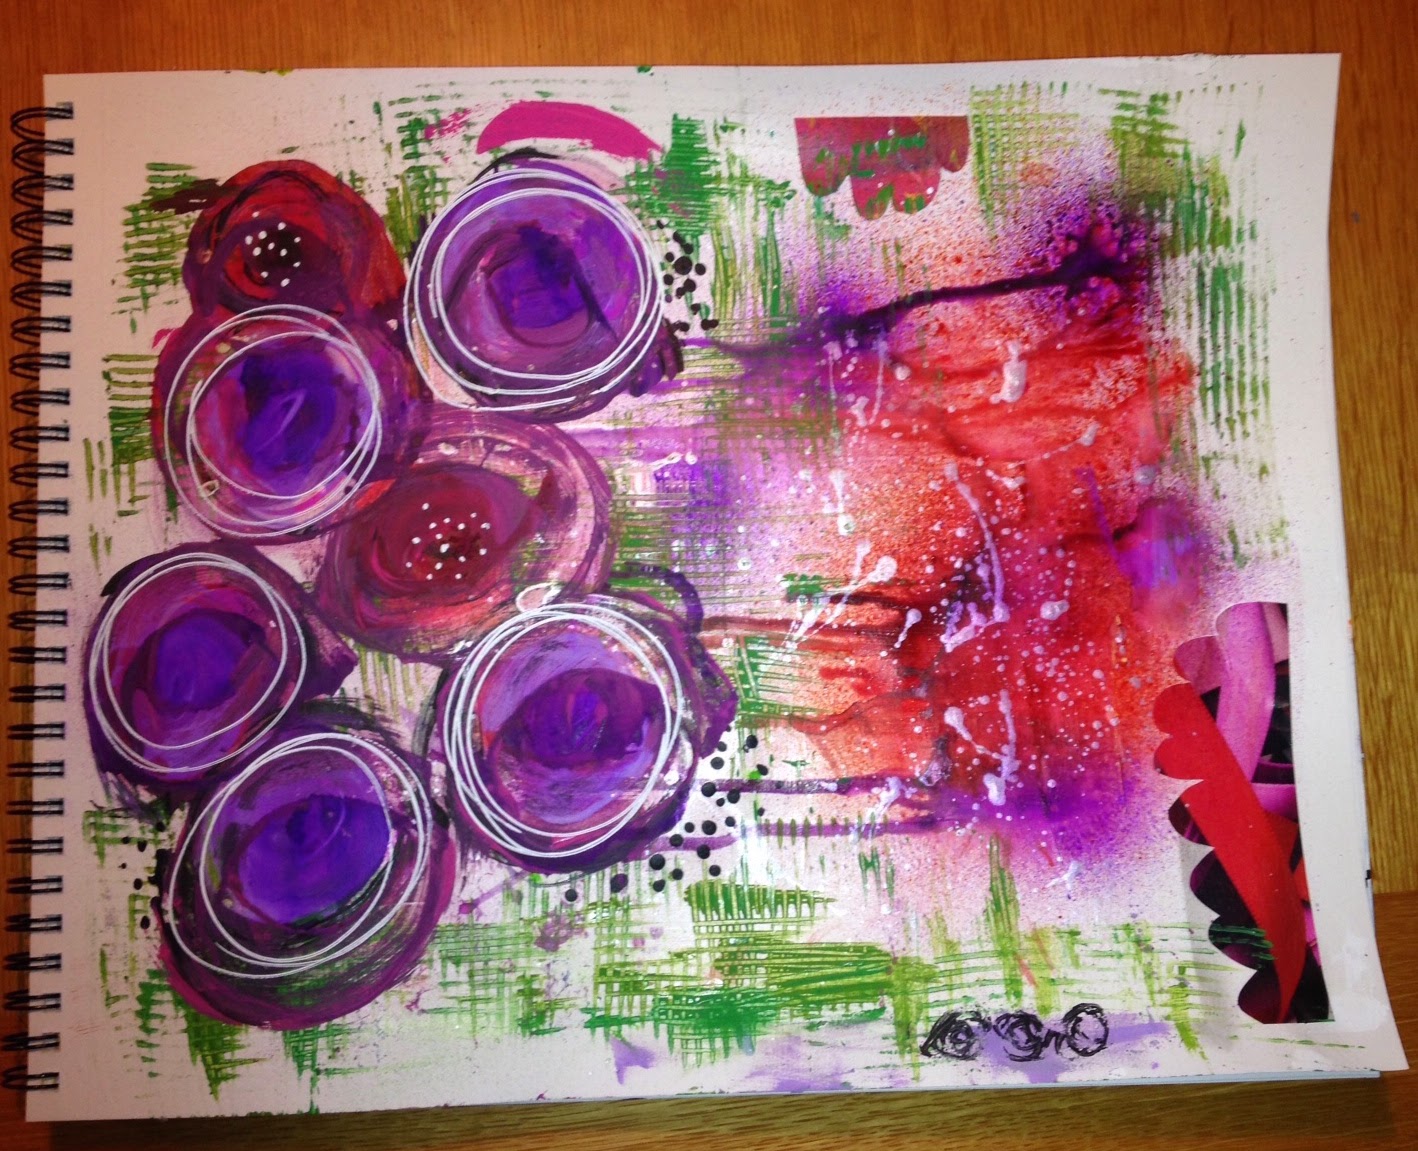
Sometimes I just need to throw paint. Smear it, glop it on paper, move it around I don't care what it makes, but sometimes I'm just lucky and it turns out like the picture below. I am enjoying dripping my Dylusions spray inks lately as well. My tablet lays sideways as you see here, but I actually like the picture more when I turn it so the circles appear to be large whimsical trees or flowers. Just a different color set but I'm always trying new things. Whatever paint I have left is what I will use. I've been good about NOT buying art supplies. Clearly I have enough to make all of this and then some. I will run out of paints and gesso for sure very soon. Those are a must buy staple of art so I will be excited for that. 


Thanks for stopping by and letting me share my week with you!


Tuesday, February 10, 2015

Layers Take 2 AND 3

I LOVE LAYERS!! Who knew? This mixed media technique is just one of the creative things I have learned recently to ad to my bag of overflowing art tricks.  Many of the pieces glued down to this first piece are random doodles, tag copies, stamped images and under paper I have had from the very beginning.  I've been creating art my whole life, at least 20 years if not more, but in the last two I really was inspired by mixed media and journaling.  So all of these little pieces of torn art and paper make a really great piece of art in itself. I feel like I'm ruining something the moment I start adding gesso. All these layers become so much more and the texture is just yummy! 


...And here is what I'm talking about with the gesso. This was my 3rd layering attempt in 2 days so I only used one layer of gesso to allow all of the colors and textures to show through into the whole project layout.


I added bright colors and tried to mix them all in random places because I had a great plan...


I added all of these colors and let them dry. I stamped some black images over all of the color.  I love the stamp (TH) "Live the life you've imagined."


So, here's my plan in action.  I wanted to try a masking technique over all of the vibrant colors. I used some of my circuit vinyl because it wouldn't stick permanently to the pages.  They stayed in place just fine.


I really liked the look of the black vinyl and could have left it at that ..BUT I had a plan so I kept going.  Enter Black Gesso. This is a giant tub of black gesso from Dick Blick and it is hard to open and shut. First because my hand barely reaches over the top of the lid, and second because it screws on crooked, and gets dried on..GIANT gloopy big of mess of gesso. I love it, I can stick the side of a gift card right into it to scrape on a page, but that's about it.


Blackout. I'm nervous here because the gesso is thick. I used a brayer to roll it over the vinyl. I did use a heat tool to dry the gesso. I used an x-acto knife to lightly cut around the edges of the stars before pulling them up.


Wah-la! All of the bright colors underneath pop out from the black layer. I purposefully placed a star mask over the stamp, so the image would show through.  The letters were hand cut for the page as well. All of the stars are hand cut and vary in shape and size because I didn't want perfectly matching stars.


Finishing touches are made with a white gel pen, and it's done. I loved all of the original layers of papers and colors but they really get lost under the paint and art design. It's a love hate thing.


Layers take 3.  TONS of colors, papers, tissue, on a large mixed media tablet.


Add gesso..just lightly.  I like how the gesso accentuates all the wrinkled layers and washi tape.


Random confession time. I have a mountain eruption of gesso on my container because when it's poured out it drips down and doesn't pour cleanly. I've cleaned it off many times, but it still closes enough to not dry out and it will just come back. I think I'm almost ready for my 2nd bottle of gesso ..it's been a year+ and I still have about 1/4 of this bottle left. With all this layering it's sure to be gone soon.


Gessoed layers plus paint scraped with a putty knife. I used some chipboard to create interest and all of the colors blended into each other because of the ridges and lines. These are my favorite layers to date. I think I'm really getting somewhere.


Sunday, February 8, 2015

When NOT to stop

This weeks DLP was an interesting challenge. "When NOT to stop". I aways have a hard time knowing when to stop, but sometimes it's just as simple as "I can't think of anything else that I want on this page".

This is the page I started yesterday for this prompt. I have a hard time stopping a creation once I start it.

Blended Gelatos ..not a typical color pallet for me, but I love it!

White gesso 

Stamped numbers

Added washi tapes and doodles

Added text tissues, embossed stamp, scraped paint and gesso

Zetti ATC's I just made that work perfectly with this project


My "finished" (at this point) "When not to stop" Layout

Here is the list of layers that went into making this page, which by far it my favorite so far. (I think I say that every week).


  1. Gesso - White Liquitex 
  2. Gelatos- Scribbled 4-5 colors in random spots, blended with a baby wipe
  3. Clear Gesso- Liquitex  spread with a gift card (some smearing of gelato, but so minimal that it is worth it to have the ability to write and have things added on top of them)
  4. Gesso - White Liquitex smeared over some areas to lighten the bright gelato
  5. Stamp - Clear number stamps left on the plastic as it came from the store (purple ink)
  6. White gel pen - scribbles
  7. Black writing pen -outlined the shape of a playing card with a scribble border
  8. Washi tapes in random places
  9. Stabilo marks all pencil - shadows
  10. Acrylic paint - blue and purple scraped with a putty knife
  11. Gesso - White Liquitex scraped with the same putty knife
  12. More wash tape  - film strips thick
  13. Gelatos- blended in washi tapes
  14. Mod Podge Text tissue paper 
  15. Mod Podge Music tissue paper
  16. Stayz on black ink around edges of the pages
  17. White gesso 
  18. Emboss "Think Happy, be happy" Stamp
  19. Under paper pocket
  20. Stitching on pocket
  21. White out pen embellishments
  22. Black stabilo around a scalloped cut stencil
  23. White out pen dots
  24. Add Zetti ATC's
I could be done but I think there is more room for words and or doodles. Even with all of these layers I feel like I could add more, which is odd because I hardly ever add these many layers. I have to say I really enjoyed making this layout. 

I was working on these ATC's as a random idea and had no real "use" other than creating for them.  SO imagine my "aha" moment when the layers of my ATC's on top of my layers of the page came into play..Layers on layers...really there is no stopping this girl!

Here is a mock up of what I might do with adding more layers. The white paper would not be part of the layout. I would simply drawn the words with black ink and white hi lights. We'll see..clearly I am not done :)
This is one version of words I might add
Version 2 of word options

Hope you enjoyed this post :)

Saturday, February 7, 2015

ATC's Zetti Style

I went through a zetti phase about a month ago. I really got into it and had fun creating randomly cut out people animal crazy hybrids.  As that faded, I got back into the ATC's.  Sometimes I make art to trade, sometimes I make it for me and sometimes its really just goofing around to see what I can come up with.

I decided to merge the two art forms together. I had some pre prepped cards with text paper and paint ready to go. When they were just the colors I contemplated leaving them as a 13 piece art display to put in a frame... I couldn't leave them alone, so that that was never going to happen. I did take a picture so it could be a print.


After all of the layers of the ATC's, they actually became the center pieces of my DLP week 6, "When not to stop" theme.  The page prep was fun and I will share that on my DLP page. SO many layers of color and fun. But then..more layers and textures with a variety of my little zetti creations. Finally a way to use them! I had a few extra so I made a pocket and keep them in there. 

Here are the zetti ATC's as just a group of cards I made.  Hope you enjoy!  You can also check out more of my zetti attempts on my "What the zetti is that?" page of this blog. 


Am I an Artist?

Yes. The answer is definitely YES! I have been creating artistically whether it be with a paintbrush and canvas, film and camera, or pencil ...